How Crypto Liquidations Happen: Mechanics, Math, and Risk Management
Learn how crypto liquidations work, how exchanges calculate liquidation prices, and practical strategies to protect your margin and avoid getting rekt.
On this page
- What is forced liquidation in crypto?
- The step-by-step liquidation sequence
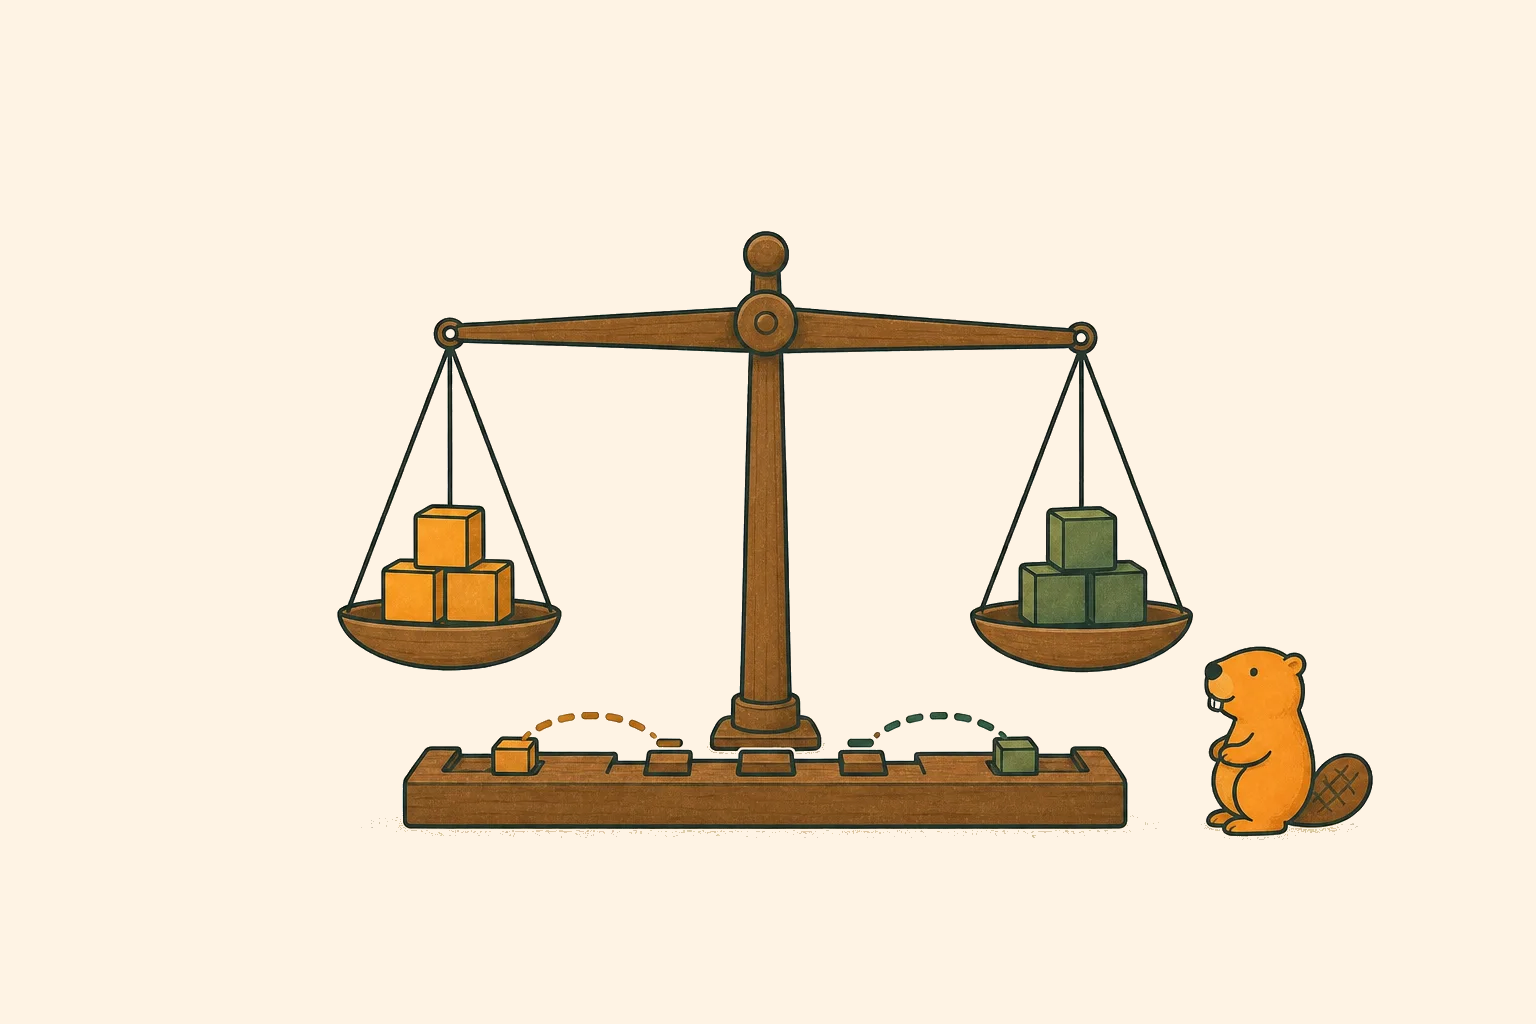
- Mark Price vs. Last Price: Why it matters
- How to calculate your liquidation price
- Liquidation styles: Complete wipeout vs. partial liquidation
- Cascade liquidations (Long and Short Squeezes)
- Practical strategies to avoid getting liquidated
- Sources and further reading
Quick read
Forced liquidation is the automated safety process where a derivatives exchange forcefully closes a trader's position. This happens when the position's margin account drops below the minimum maintenance threshold, protecting the exchange and other market participants from trailing debt. Understanding how these mechanics calculate your liquidation price is the first step in protecting your capital.
What to remember
- Exchanges trigger liquidations based on the Mark Price, not the volatile Last Price, to protect against order-book manipulation.
- The Maintenance Margin Rate (MMR) defines the absolute minimum capital floor required to keep a leveraged trade open.
- Once a liquidation is initiated, the exchange's risk engine takes complete control, liquidating assets to cover the debt.
- Liquidated positions that cannot be filled at the bankruptcy price are backed by the exchange's Insurance Fund or settled via Auto-Deleveraging (ADL).
- To avoid getting liquidated, use conservative leverage, set strict stop-losses, and monitor your margin ratio during volatile periods.
What is forced liquidation in crypto?
In spot markets, you buy and own the actual digital asset. If the price drops to zero, you still own the coins. In leverage and derivatives trading, however, you trade using borrowed capital. You post a small portion of your own funds as collateral (the initial margin) to control a much larger position.
If the market moves against your trade, your unrealized losses are deducted directly from your margin balance. Because crypto markets are highly volatile and operate 24/7, exchanges cannot risk a trader's account falling into a negative balance (debt that exceeds their posted collateral).
To prevent this, exchanges use automated risk engines. If your margin balance falls below the absolute minimum required to keep the position open, the exchange initiates a forced liquidation, terminating your position and absorbing your collateral.
The step-by-step liquidation sequence
Liquidation is not a sudden, manual event; it is a rigid, multi-stage risk protocol run by the exchange's software.
Steps
Margin threshold breached
As the market price moves against your trade, your unrealized losses increase. When your margin balance drops to equal or less than the required maintenance margin, the position becomes eligible for liquidation.
Position locked and orders cancelled
The exchange's risk engine immediately locks your position. You lose the ability to manage it manually. All active open orders associated with that contract on your account are automatically cancelled to free up remaining margin.
Risk engine takeover
The exchange takes full ownership of the position. The engine automatically places market or limit orders on the order book to close the position at the bankruptcy price (the price at which your collateral is exactly $0).
Backstop or Insurance Fund absorption
If the position is closed at a price better than your bankruptcy price, the leftover margin is either sent to the exchange's Insurance Fund (on CEXs) or returned to your account balance (on DEXs like Hyperliquid). If the market is crashing fast and the position is closed at a price worse than your bankruptcy price, the platform's Insurance Fund (CEX) or backstop vault (DEX) pays the deficit to cover the bad debt.
Auto-deleveraging (ADL) execution
In extreme market panics, if the Insurance Fund or protocol backstop vault runs dry and cannot cover the bankrupt position's deficit, the system triggers auto-deleveraging. The engine forces profitable counterparties (traders holding opposing positions with high profit and leverage) to close their trades early to absorb the unpaid debt.
Mark Price vs. Last Price: Why it matters
Exchanges calculate your unrealized profits, losses, and liquidation thresholds using two different prices:
- : The most recent execution price on that specific platform.
- : A fair-value estimate calculated by taking a weighted average of spot prices across multiple independent exchanges (the index price) plus a decaying funding premium.
Exchanges trigger liquidations exclusively based on the Mark Price.
This mechanism protects traders from "scam wicks"—sudden, localized price crashes on a single exchange caused by a whale dumping a large order into a thin order book. If the Last Price temporarily spikes or drops due to low liquidity but the broader spot market remains stable, your position will not be liquidated because the Mark Price filters out the noise.
How to calculate your liquidation price
For an isolated margin position, you can approximate your liquidation price using basic math.
The formulas incorporate the . If an exchange has an MMR of 0.5% (0.005), it means you must hold collateral worth at least 0.5% of the total position value.
Long liquidation formula
Show the source codeOptional. The article explains this without it.
Liquidation Price (Long) = Entry Price * (1 - 1 / Leverage + MMR)Short liquidation formula
Show the source codeOptional. The article explains this without it.
Liquidation Price (Short) = Entry Price * (1 + 1 / Leverage - MMR)Worked example: A 10x Long Position
Suppose you open a 10x Long position on Bitcoin at $60,000 using $6,000 of initial margin (controlling a position size of 1 BTC worth $60,000). The exchange's MMR for this tier is 0.5% (0.005).
Show the source codeOptional. The article explains this without it.
Liquidation Price = 60,000 * (1 - 1 / 10 + 0.005)
Liquidation Price = 60,000 * (1 - 0.1 + 0.005)
Liquidation Price = 60,000 * 0.905 = $54,300
If the Mark Price drops to $54,300, your position is liquidated. Out of your original $6,000 margin, $5,700 was lost to price decline ($60,000 - $54,300), and the remaining $300 represents the 0.5% maintenance margin floor protecting the exchange from bankruptcy.
Liquidation styles: Complete wipeout vs. partial liquidation
Depending on the trading platform, the financial consequence of a forced liquidation can be very different.
Centralized exchanges (CEXs) like Binance and OKX typically impose a penalty, which often wipes your account balance for that position to exactly zero. Modern decentralized protocols like Hyperliquid, Lighter, and Aster, however, do not charge penalty fees and only close the portion of your position required to return your account to safety.
| Platform | Clearance Penalty / Fee | Liquidation Execution | Remaining Equity |
|---|---|---|---|
| Binance | Insurance Clearance Fee (up to 2% of position size) | Full liquidation (entire position closed) | Taken by exchange (wiped to $0) |
| OKX | Forced liquidation fee (taker rate) + volatility cost | Tiered liquidation (full or partial based on size) | Transferred to OKX Insurance Fund |
| Hyperliquid | No clearance fee ($0 penalty) | Partial liquidation (closes minimum size needed) | Returned to trader's account balance |
| Lighter | No clearance fee ($0 penalty) | ZK-verifiable partial liquidation via IOC orders | Returned to trader's account balance |
| Aster | No clearance fee ($0 penalty) | Smart partial closure via IOC (ZK-encrypted prices) | Returned to trader (supports yield-bearing assets) |
Complete Wipeout with Penalty
Centralized platforms charge an Insurance Clearance Fee calculated as a percentage of the nominal position size. If you hold a large position, this clearance fee can be substantial. Even if the exchange fills your order on the market with remaining collateral left over, the exchange absorbs the surplus into its Insurance Fund, wiping your allocated margin to exactly zero.
Partial Liquidation without Penalty
Decentralized platforms like Hyperliquid, Lighter, and Aster offer a more user-friendly mechanism. If a position is liquidated via the order book, the protocol sends standard market orders (often Immediate-or-Cancel IOC orders) to close only the fraction of the position necessary to restore your margin to the maintenance limit. Furthermore:
- Hyperliquid returns any remaining margin after the market order execution back to your account.
- Lighter enforces ZK-verifiable liquidations using ZK-SNARK proofs on-chain, proving the liquidation rules were followed mathematically without operator preference.
- Aster utilizes ZK-encrypted position pricing to prevent liquidation hunting (where malicious actors see liquidation levels on-chain and manipulate prices), and allows yield-bearing margin assets (like asBNB) to continue earning interest during open trades.
If the market moves too fast and the position falls below the close-out or backstop threshold, the trade is transferred to the backstop (like Hyperliquid's HLP vault or Lighter's LLP), at which point your remaining collateral is lost to the backstop.
Cascade liquidations (Long and Short Squeezes)
When a trader's position is liquidated, the exchange's risk engine places market sell orders (for longs) or market buy orders (for shorts) to close the trade.
In times of extreme leverage buildup, a minor price drop can trigger a cluster of long liquidations. These liquidations hit the order book as massive market sell orders, driving the price down further. The lower price then triggers a second tier of liquidations, creating a cascading domino effect.
This self-reinforcing cycle is known as a liquidation cascade:
- Long Squeeze: A rapid downward spiral driven by cascading long liquidations.
- Short Squeeze: A rapid upward spike driven by cascading short liquidations (forced buys).
Derivatives tracking dashboards like Coinglass monitor live liquidation volumes, which traders use as a gauge for market over-leverage and volatility risk.
Practical strategies to avoid getting liquidated
Forced liquidation wipes out 100% of your committed margin. To survive as a leverage trader, you must apply strict risk management:
1. Maintain a healthy distance to liquidation
Use conservative leverage. At 100x leverage, a tiny 1% adverse price move will liquidate your position. At 5x leverage, the market must move 20% against you before liquidation occurs. Give your trades room to breathe.
2. Set stop-loss orders
A stop-loss order is an instruction to close a position once it reaches a certain price. Your stop-loss price should always be placed closer to your entry price than your liquidation price. A stop-loss ensures you exit the market with a minor, controlled loss before the exchange's liquidation engine executes a total wipeout.
3. Choose the right margin mode
- Isolated Margin: Restricts your risk to the specific margin allocated to that single position. If liquidated, you only lose the margin for that trade.
- Cross Margin: Shares your entire account balance across all open positions. While this lowers the liquidation price of individual trades, a single catastrophic trade can drain your entire wallet.
4. Monitor your Margin Ratio
Keep an eye on the exchange's margin dashboard:
Show the source codeOptional. The article explains this without it.
Margin Ratio = Maintenance Margin / Margin BalanceIf the Margin Ratio approaches 100%, you must either add margin to the position (in isolated mode) or close a portion of the trade to reduce your position size.
The liquidation price is the threshold where the exchange takes control of your position (when equity equals maintenance margin). The bankruptcy price is the price where your equity is exactly zero. The gap between them allows the exchange to exit your position on the market before it goes into a negative balance.
It depends on the platform. On centralized exchanges like Binance and OKX, the entire margin is usually taken to cover liquidation fees and insurance fund contributions, wiping your balance to zero. On platforms like Hyperliquid, there are no penalty fees, and any collateral remaining after the market order execution is returned to your account.
Funding rates are periodic payments exchanged between long and short positions. If you are holding a position against the dominant market direction (e.g., holding a long when funding rates are highly positive), funding fees are continuously deducted from your margin, slowly dragging your liquidation price closer to the current market price.
Yes. Decentralized exchanges (DEXs) handle liquidations on-chain using public keepers or smart contract protocols rather than private database engines. Additionally, DEXs like Hyperliquid use community liquidity pools (the HLP vault) as the liquidation backstop instead of centralized corporate-owned insurance funds.
If extreme market volatility causes a position to close at a price worse than its bankruptcy price, the resulting deficit (bad debt) is covered by the exchange's Insurance Fund (CEX) or HLP vault (DEX). This prevents other traders from being clawed back, though auto-deleveraging (ADL) remains the final backstop if those funds run dry.
No. A stop-loss is an order that triggers when a specific price is hit. During high volatility, extreme slippage or order-book gaps might cause your stop-loss to fill at a much worse price, or fail to execute entirely before the exchange's risk engine steps in to initiate a liquidation based on the Mark Price.
Isolated margin restricts your collateral risk to a single position, safeguarding the rest of your account. Cross margin shares your entire account collateral across all open trades. While cross margin lowers the liquidation price of individual positions, a single runaway losing trade can liquidate your entire account.
Platforms use a tiered defense: they liquidate positions automatically before account equity hits zero, utilize an Insurance Fund or protocol backstop (like Hyperliquid's HLP vault) to absorb deficits, and trigger Auto-Deleveraging (ADL) as a final backstop to close out opposing profitable positions if necessary.
Sources and further reading
Primary documentation for the mechanics above:
- dYdX — Perpetual Liquidation Documentation
- Hyperliquid — Liquidation Mechanics
- Lighter — ZK Perpetual Exchange Documentation
- Aster — Smart Liquidation DEX Documentation
- Coinglass — Liquidations Tracker Dashboard
This article is educational. It is not trading advice, and product availability, max leverage, and margin formulas change by venue and jurisdiction. Verify live parameters on the exchange before you risk capital.
Keep learning
Recommended next reads based on this lesson.
- Auto-Deleveraging (ADL) Explained: When the Exchange Closes Your WinnerHow the ADL queue is ranked, what price your position is closed at, why the settlement gap matters less than the forced exit, and how to read the indicator on your position row.
- Cross Margin vs. Isolated Margin: Which Protects You Better?Learn the core differences between cross and isolated margin modes, compare their risk profiles, and see step-by-step worked examples to protect your trading capital.
- Crypto Funding Rates: What They Are, Who Pays, and How to Trade ThemLearn how crypto funding rates work, how to calculate positive and negative funding fees, and how to read funding dashboards like Coinglass to predict market moves.
- Trading Perpetual Futures: How They Work and What You Need to KnowUnderstand perpetual swaps (perps), how they differ from dated futures, how funding rates anchor their price to spot, and basis risk.